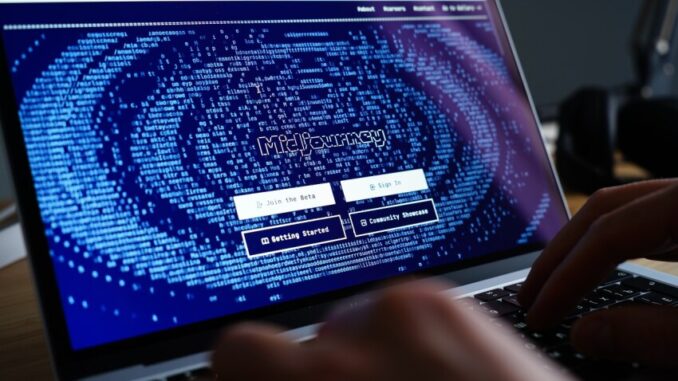
Here’s a guide on how to use MidJourney for creating high-quality AI-generated images:
1. Get Access to MidJourney
MidJourney operates through Discord. Follow these steps to gain access:
- Join the Discord Server: Visit MidJourney’s website and follow the invite link to join their Discord server.
- Subscribe to a Plan: MidJourney requires a subscription for full access to its features. Choose a plan that suits your needs.
2. Prepare Your Prompt
Creating a high-quality image in MidJourney begins with crafting an effective prompt. Consider these components:
- Main Subject: Describe the object or scene you want to create.
- Details: Specify features like color, texture, lighting, or style.
- Style: Mention artistic influences, real-world aesthetics, or settings (e.g., “cyberpunk,” “steampunk”).
- Camera Angles and Techniques: Use photography terms for realism, like “wide angle,” “macro shot,” or “bokeh background.”
Example Prompt: “A futuristic city at night, neon lights glowing, cyberpunk style, highly detailed, ultra-realistic, 4K resolution”
3. Interact with the Bot
- Enter a Discord Channel: Look for the “newbies” or any channel where you can type commands.
- Type Your Prompt: Use the
/imaginecommand followed by your description. Example: - Wait for Rendering: The bot generates four image variations. This may take a few seconds.
4. Refine Your Results
Once the images are ready:
- Upscale: Choose a version to upscale for higher quality by selecting
U1,U2,U3, orU4(buttons below the image). - Variations: Create variations of an image by selecting
V1,V2,V3, orV4. - Reroll: If unsatisfied, hit the 🔄 button to generate new results.
5. Save Your Work
- Once satisfied, right-click the image and save it.
- For higher resolutions, upscale the image further using external tools or MidJourney’s advanced settings.
6. Use Advanced Settings
MidJourney offers advanced parameters for better control:
- Aspect Ratios: Adjust using
--ar(e.g.,--ar 16:9for widescreen). - Quality: Increase render quality with
--q 2or higher. - Stylize: Use
--sto control artistic freedom (e.g.,--s 1000for more creativity). - Seed: Use
--seedfor consistent results.
Example Advanced Prompt:
7. Experiment and Iterate
Creating stunning AI images requires experimentation. Adjust your prompts, explore styles, and refine your approach based on results.
By following these steps, you’ll unlock the potential of MidJourney to craft incredible AI-generated images tailored to your vision!
Need a logo for your business or artwork for a presentation? One option is to use an AI image generator like Midjourney. With this image creator, you describe the type of image you need and the site displays four high-quality renderings, which you can fine-tune and edit.
You need a paid subscription to use Midjourney. The company has offered free trials in the past, but not consistently. Plans run between $10-$60 per month and $96-$576 per year. Each tier bumps up the speed of the responses and offers additional perks. To get a taste of Midjourney, you’ll want to start with the basic plan to see how well it works for you.
In the past, Midjourney required you to use Discord to create AI images. That required a lot of fiddling with text-based prompts, a process that could be clumsy and frustrating, especially for newbies. To appeal to a wider audience, Midjourney has since launched a dedicated website that’s much easier and friendlier to use.
Sign Up for Midjourney
To get started, head to the Midjourney website and click the Sign Up button at the bottom of the home page. Signing up requires either a Google or Discord account. If you previously created images through Discord, you can use that account to retrieve your history and then merge your Discord and Google accounts to sign in with either one.
Leave a Reply